1. OnDemand ClientPack Download Instructions
Create a new folder on your local C: drive and name it SISCitrix. Please download and save your "OnDemandClientPack.zip" file and all other client software related to SIS into this folder. Unzip the contents by right clicking the OnDemandClientPack.zip file and select "Extract All". The OnDemandClientPack zip file will contain the following files:
CitrixWorkspaceApp_24021000.exe, OnDemandReceiverConfig.cr, ScrewDriversClient_6.10.3.17781_x64.exe, RegisterTriceratIcaPerUser.bat, RegisterTriceratIcaPerMachine.bat, and RemoteScanEnterpriseASP10_828.exe
OnDemandClientPack.zip
Once unzipped, proceed and follow the below instructions
2. Citrix Workspace App Long Term Service Release for Windows 2402.1000 Installation Instructions
A. Log into the device as an Administrator and run the Command Prompt as Administrator. After uninstalling exsisting versions of the Citrix Client, use the below command line
CitrixWorkspaceApp_24021000.exe /forceinstall /AutoUpdateCheck=disabled EnablCEIP=false
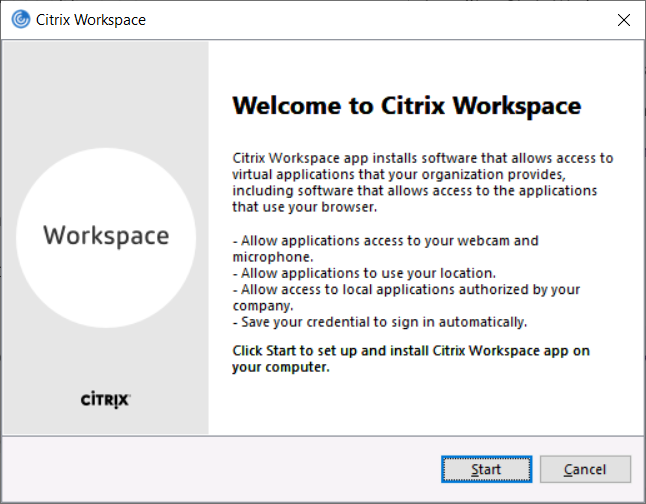
to install the CitrixWorkspaceApp.exe_24021000.exe that was extracted in Step 1. Please reference the below screenshot for the command line install. Acknowledge any security messages and click the Start button on the Citrix Workspace Welcome window as shown below.

B. Click Start
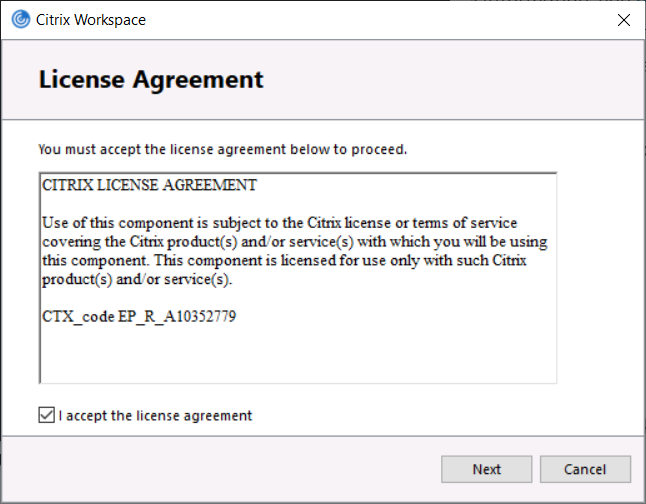
C. Check the box to accept the license agreement and click Next.
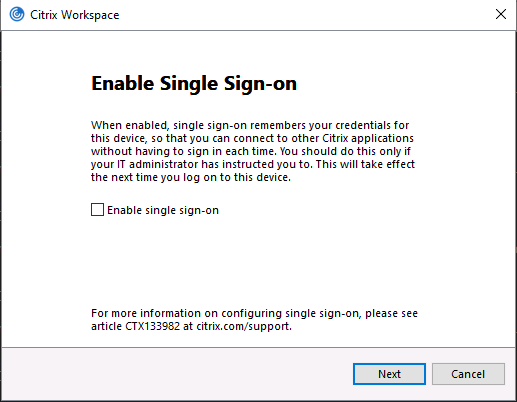
D. If you receive a window to Enable single sign-on, leave the option unchecked and click Next.
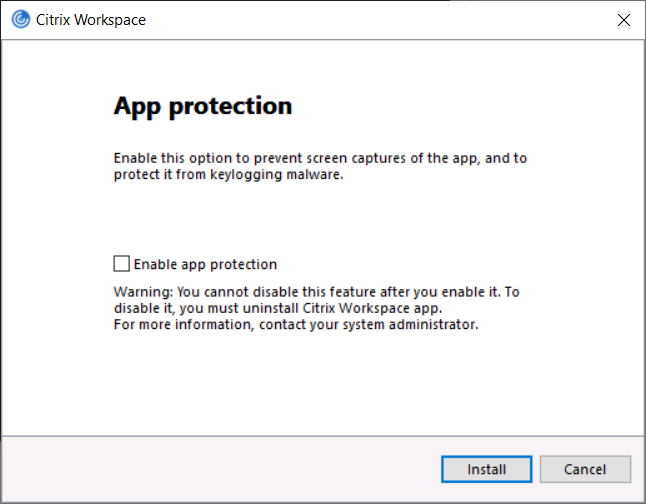
E. Make sure "Enable app protection" is unchecked. Click Install and the installation will begin.
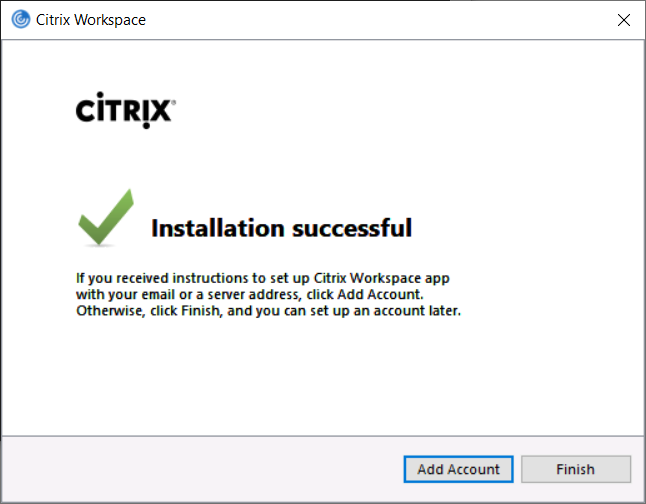
F. Click Finish. If you are prompted to reboot your system, please reboot. After you log into your system after rebooting, if you are presented with an "Add Account" window please click the Close button.
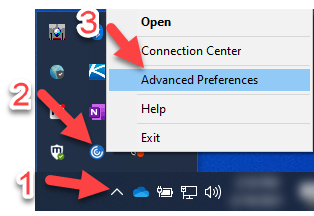
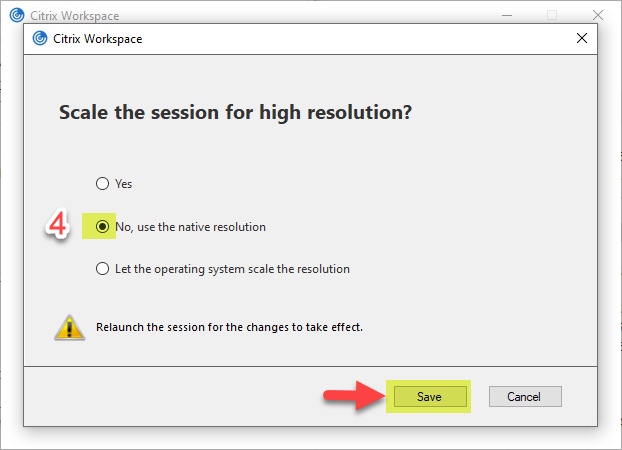
G. After clicking finish you may notice the Citrix Workspace App icon in the system tray (blue circle with white curved lines) as shown in the below screenshot. (1) You may have to click the "up arrow" to expand the system tray icons. (2) Next, right click the Citrix Workspace App icon in the system tray. (3) Click Advanced Preferences. (4) Click the High DPI link, select the option "No, use the native resolution", and click Save.
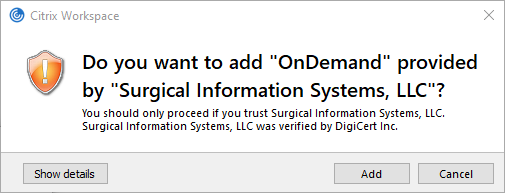
H. Double click the OnDemandReceiverConfig.cr file that was unzipped in Step 1 and wait for the below message to be presented and click Add.
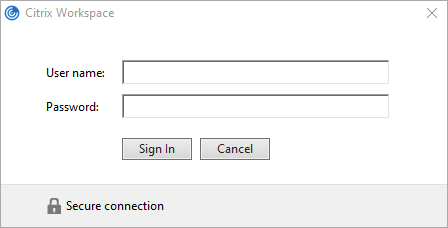
I. After clicking Add, wait to be presented with the below login window and enter your username and password and click Log On.
IMPORTANT - Please access your SIS Citrix OnDemand Applications using your native Citrix Workspace App.
3. Tricerat ScrewDrivers v6.10.3.17781 Installation Instructions
A. Right click the ScrewDriversClient_6.10.3.17781_x64.exe file that was unzipped in Step 1 and select Run as Administrator. Click Next and check the "I agree.." box. Click the Install Button. After the installation is complete click the Finish Button
B. Right click the files RegisterTriceratIcaPerUser.bat and RegisterTriceratIcaPerMachine.bat that were unzipped in Step 1 and click Run as adminstrator. The command prompt window will quickly open and close.
C. Search for ScrewDrivers Client v6 x64 from Windows Search or Control Panel. Open the ScrewDrivers Client v6 x64 software and click the Printers tab and allow access to the printers that you will use while logged into your Citrix applications by sliding the bar to show green. All other printers, in which the slide bar is NOT green will not be presented in the Citrix application. Use the below screenshots as a reference .
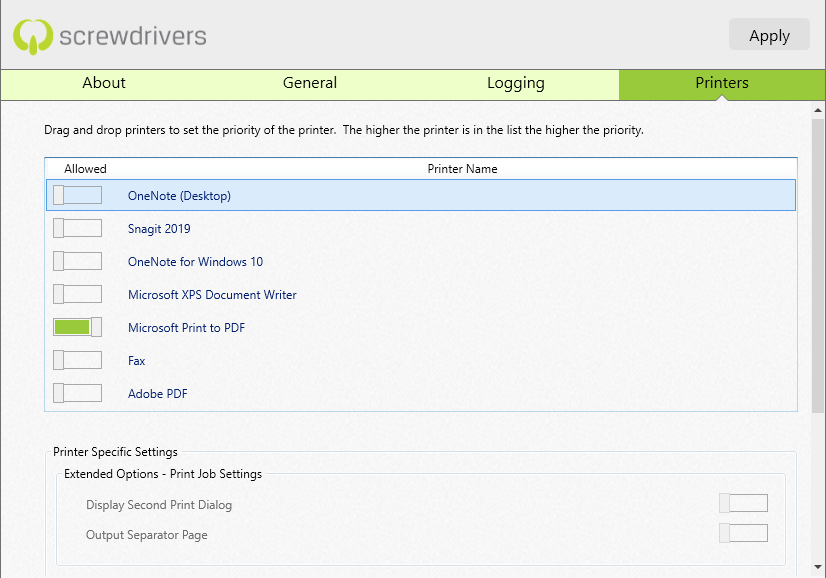
Next, click the General Tab, toggle the Session Options to green as shown below, and click the Query Printers button. Click Apply and close the window to save changes.

4. RemoteScan Installation Instructions
Please Note: The RemoteScan software is now included in the OnDemand ClientPack zip file.
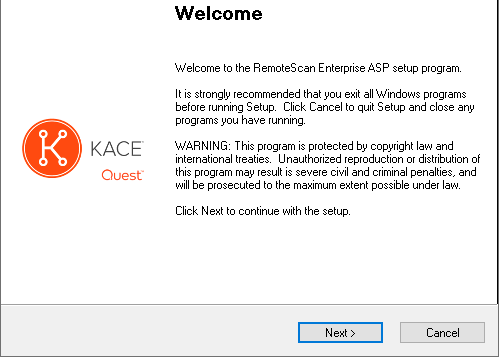
A. Right click the RemoteScanEnterpriseASP10828.exe file that was unzipped in Step 1 and click Run as administrator. Acknowledge any security messages and click Next on the Welcome window.
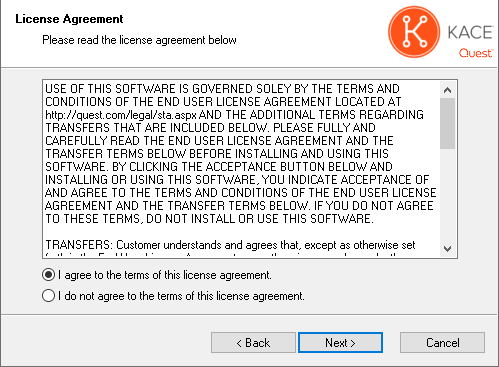
B. Select "I agree to the terms..." and click "Next".
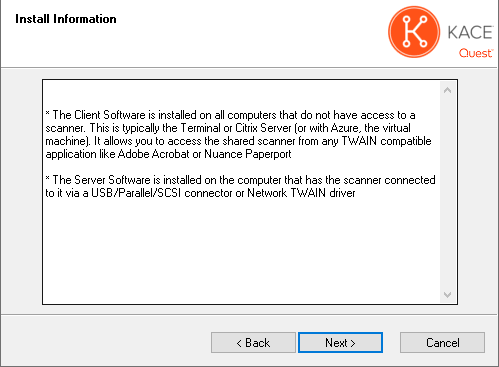
C. Click "Next".
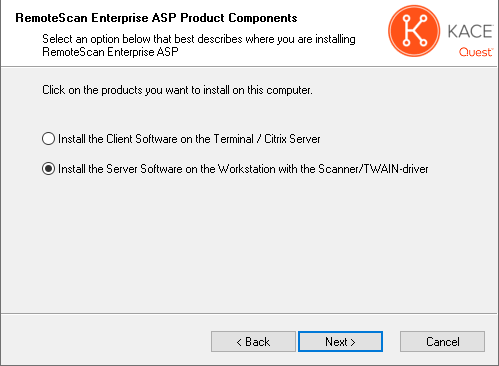
D. Select the "Install the Server Software" option and click "Next".
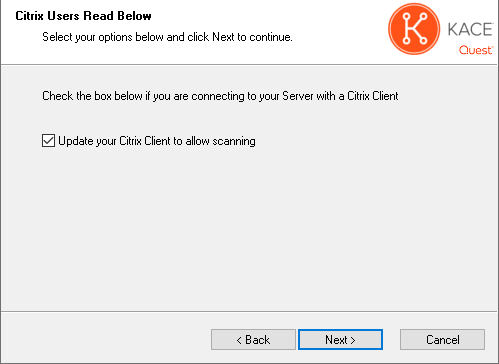
E. Select the "Update your Citrix Client to allow scanning" option and click "Next".
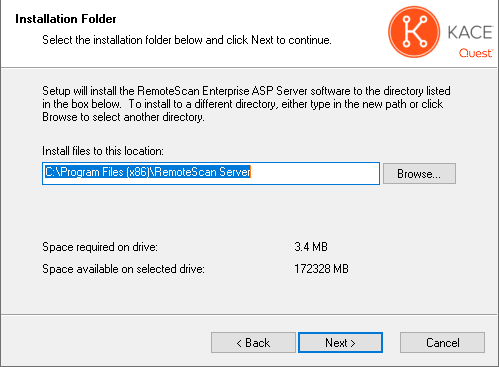
F. Keep the default location and click "Next".
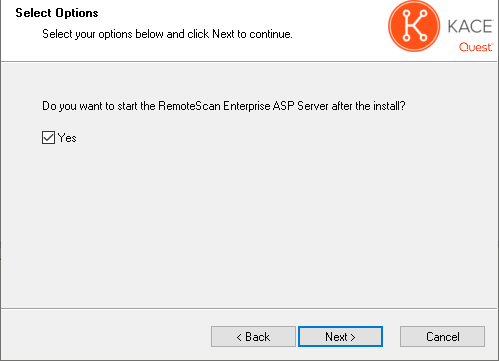
G. Place a check mark in the box, as shown in the screenshot below, and click "Next".
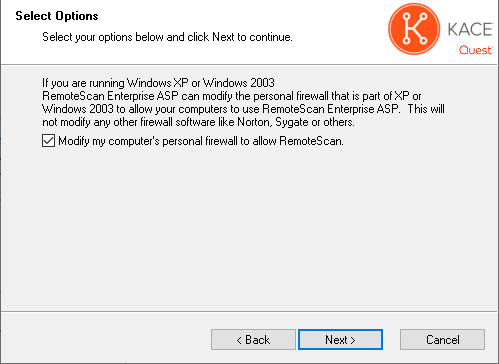
H. Select the option to "Modify my computer's ..." and Click "Next".
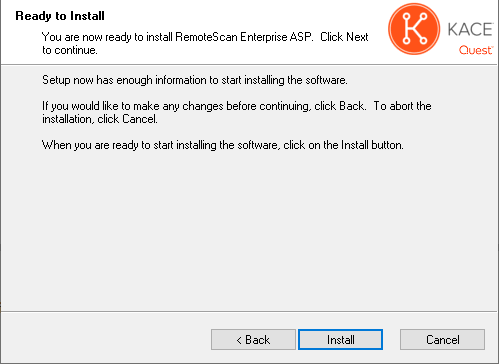
I. Make sure you have no open connections to Citrix or Terminal Services and click "Install" to begin the installation process.
J. Click Finish
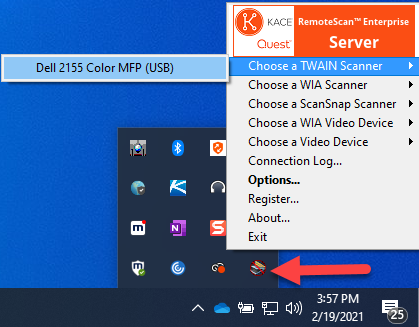
K. You will notice a scanner icon (RemoteScan icon) in your system tray as shown in the screenshot below. Right click the RemoteScan icon, select "Chose a TWAIN Scanner", and select the scanner you will be using in your Citrix SIS Hosted Application. The RemoteScan icon will now appear without the red line.
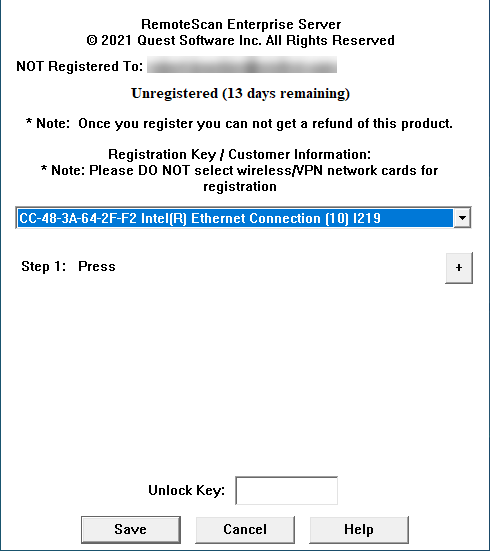
L. Right click the RemoteScan icon again and select Register. You will be presented with the Registration window as shown below. Be sure to chose an ethernet adpater and NOT a wireless or bluetooth adpater when obtaining the MAC address for product registration. Take a screenshot your RemoteScan registration window and email it to SIS Support. A SIS Client Services Team member will contact with an Unlock Key. Enter the Unlock Key provided and click save to complete the registration process of the RemoteScan software. The images directories for the product will be set to save to the Z:\ on the server.